
In my pursuit to further my (bra) education, I've decided to try out a new style with different materials. As I am not quite ready to completely draft my own patterns from scratch, using a well fitting pattern (aka Block) seemed like a step in the right direction.
I really liked this style of bra: integrated powerbar/lower cups with strap tab with small section of lace upper. Add a few minor tweaks to suite my particular preferences (lower center gore and foam lower cups) and its perfect!
 |
| [Cleo Lucy, Gorsenia Marlene, and Freya Arabella] |

Basically taking the curves off, draw new lines then add curves back on. [You can see a bit of this in action on Erin's Blog Here] A quick muslin (just one cup) then basted into my test band, and we were ready to for final adjustments.
Here's the final! I'm super spiffed.

THE PROCESS
 I cut out the lower cup pieces in cut-and-sew foam and identical pieces in my fashion fabric. The satin-y material is wonderful under fitted clothing. For the upper pieces, I used a stretch lace from Trim Expo during my last foray into the Fashion District (Nice selection, great prices!). Then cut the same pieces in bra tulle for the lining. Since I wasn't using a pattern with accompanying instructions, I assembled the pieces together in the order that made the most sense to me. Zig zag foam pieces together then sew lower cup fabric pieces together. Baste tulle and lace together, add tiny elastic for neckline, sew combined upper cup piece to combined lower cup pieces. Sew just the strap tab portion of the fabric to the foam (right sides of fabric to wrong side of foam) then flip open. With wrong side of fabric facing up (and right side of foam), overlap the fabric and foam a few mm and sew INSIDE the seam allowance. Flip over and top stitch on the cross seam. Pin down lower edges of fabric to foam and baste. Finish as usual.
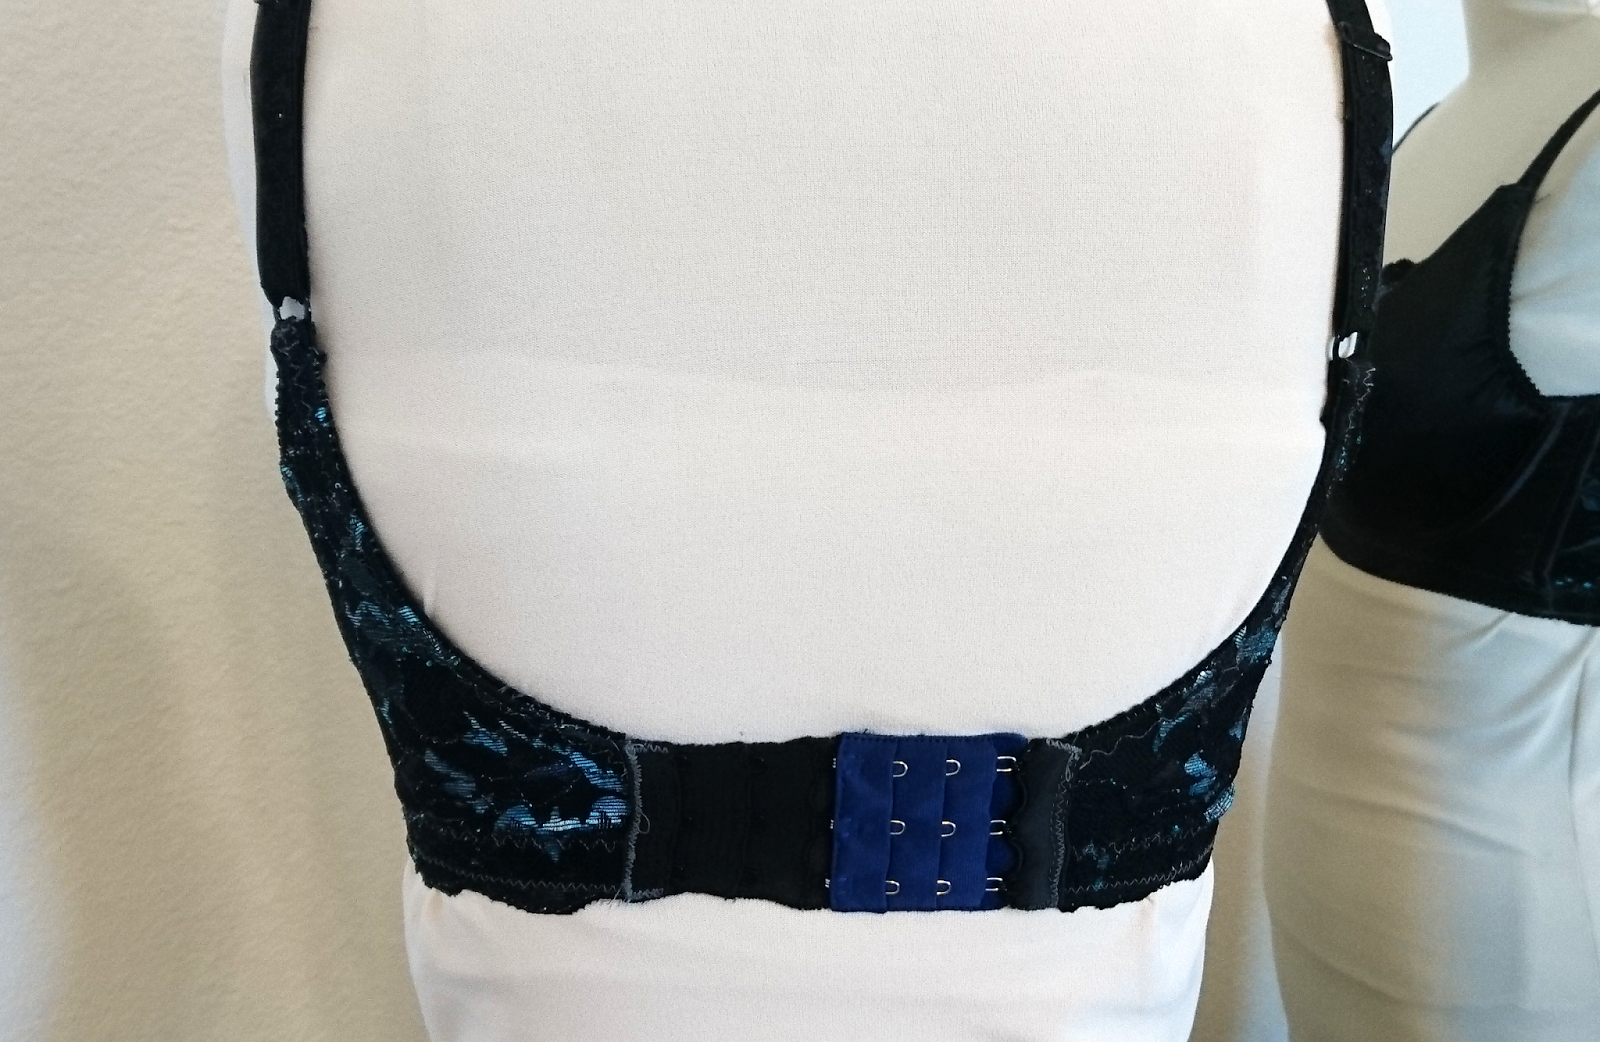
A few minor tweaks to the band - added a gothic arch and doubled up on the power mesh in the back. Also some adjustments to accommodate the lace on the back band.

THE FIT
I am pleased to report it fits! [with caveats]. Cups fit wonderfully - a little too good as this is definitely a push up bra w/ lots of cleavage. Since I used the Comexim pattern, the girls are lifted and centered without the help of any additional padding or internal slings! The gravity defying shape was created by relatively FLAT cups (the cups gain shape when they conform to the underwire) - contrary to everything I've read about bra making thus far. Immediate projection at the wire is non-existent - this would normally cause major fitting issues for me but not in this time! The bust point of Comexim bra cups tend to be above my bust point (I believe this is by design) and was also perfect for this particular re-design.

THE PROBLEMS
My myopic focus on the cups had caused some oversight on the band. 1.) I had raised the height of the wide wings (for that super sleek silhouette I crave) but had forgotten to raise the back band as well. Thus the band only has 3 hooks in the back, caused some lumps and bumps. 2.) I had also doubled the powermesh for the back band AND added stretch lace resulting in significantly less stretch. Thank goodness I had one of those bra extenders handy! 3.) The shorter back band also made the back straps too far apart. Sigh.
Overall I'm very pleased.


